
- Verify
- Guides & Tools
- Dashboard login with Microsoft Entra ID
- Getting Started
- eIDs
- Guides & Tools
- Age Verification
- Authorize URL builder
- OpenID Connect Visualizer
- Single Sign-on
- Creating test users
- Work with metadata
- Caller Authentication with CIBA
- Dashboard login with Microsoft Entra ID
- App switching
- Choose language
- Custom styling
- Prefilled input fields
- Private key JWT authentication
- Get ready for production
- Pushed Authorization Requests (PAR)
- Telemetry & observability
- Integrations
- Reference
Guides & Tools
Dashboard login with Microsoft Entra ID
You can now log in to the Idura Dashboard using your Microsoft Entra account.
Because Idura Verify requires basic profile permissions to create your account, your organization's Entra administrator must approve the application before you can successfully log in. This guide walks you through the workflow.
Step 1. Initiate the login
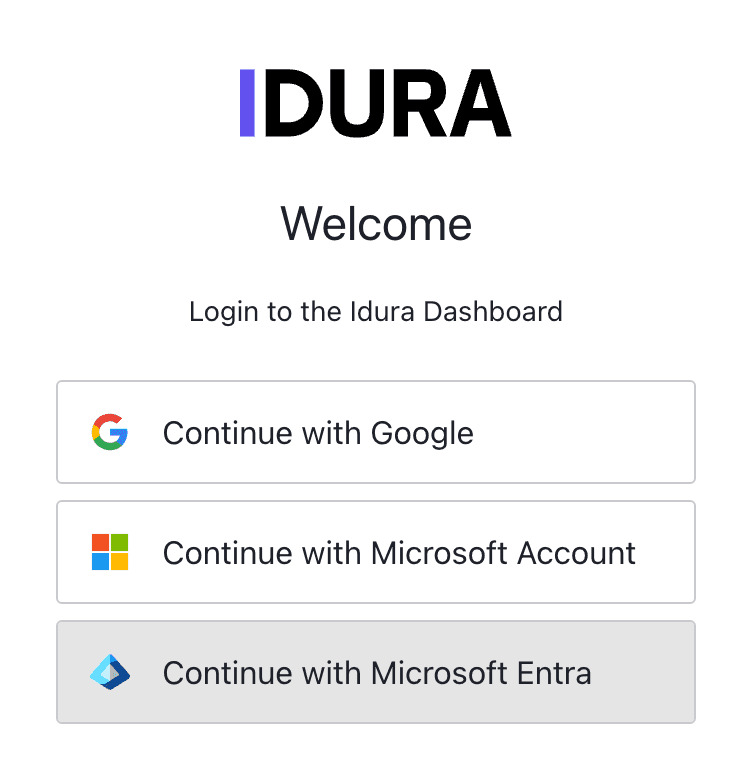
Go to the Idura Dashboard and click Continue with Microsoft Entra.
Step 2. Request admin approval
You will be redirected to the Microsoft login screen. Enter your email and password. Because the Idura application has not been authorized by your workspace yet, you will hit a Need admin approval screen.
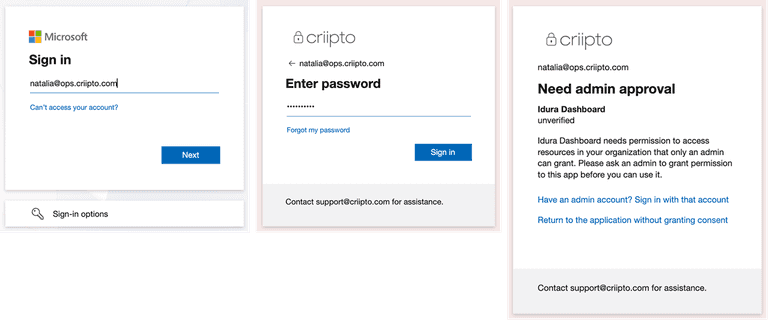
How to get approved: Copy the full URL from your browser's address bar and send it to your IT administrator. This URL contains the details they need to approve your request.
Step 3. The admin grants access
Your administrator must open the link you sent them, log in with their admin credentials, and review the Permission requested screen.
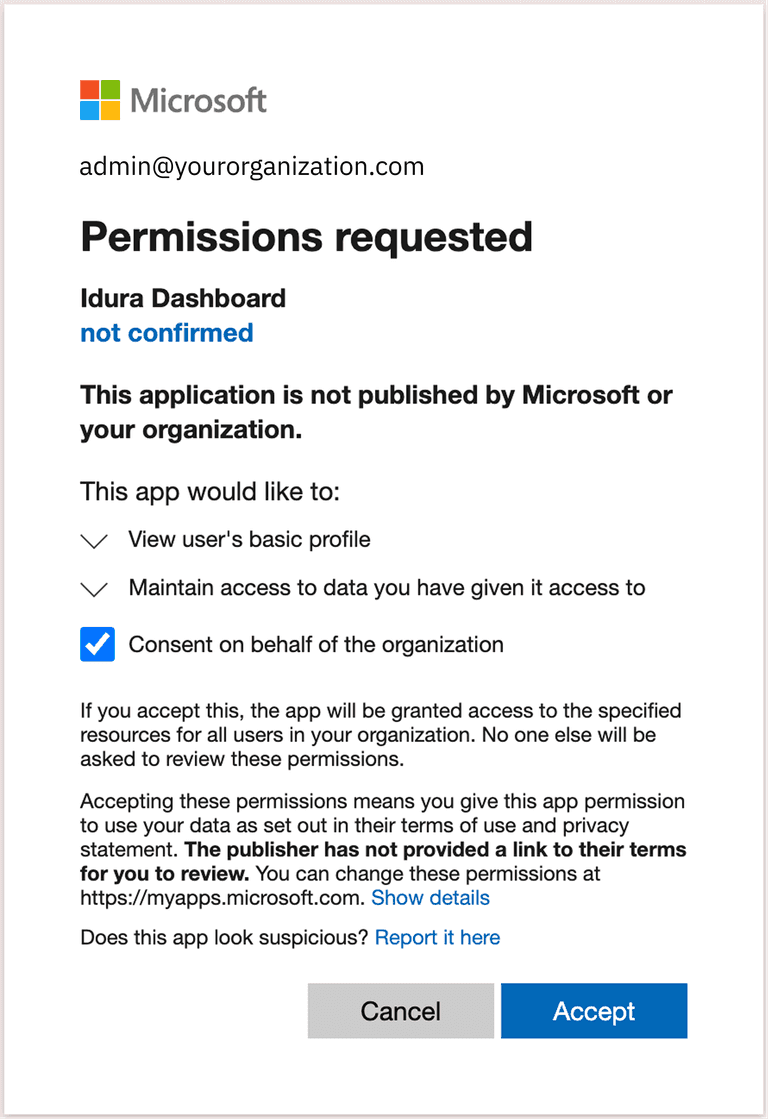
They must click Accept to authorize the Idura application for your organization.
Step 4. Complete your login
Once your admin has enabled access for you, return to the Idura Dashboard and log in again.
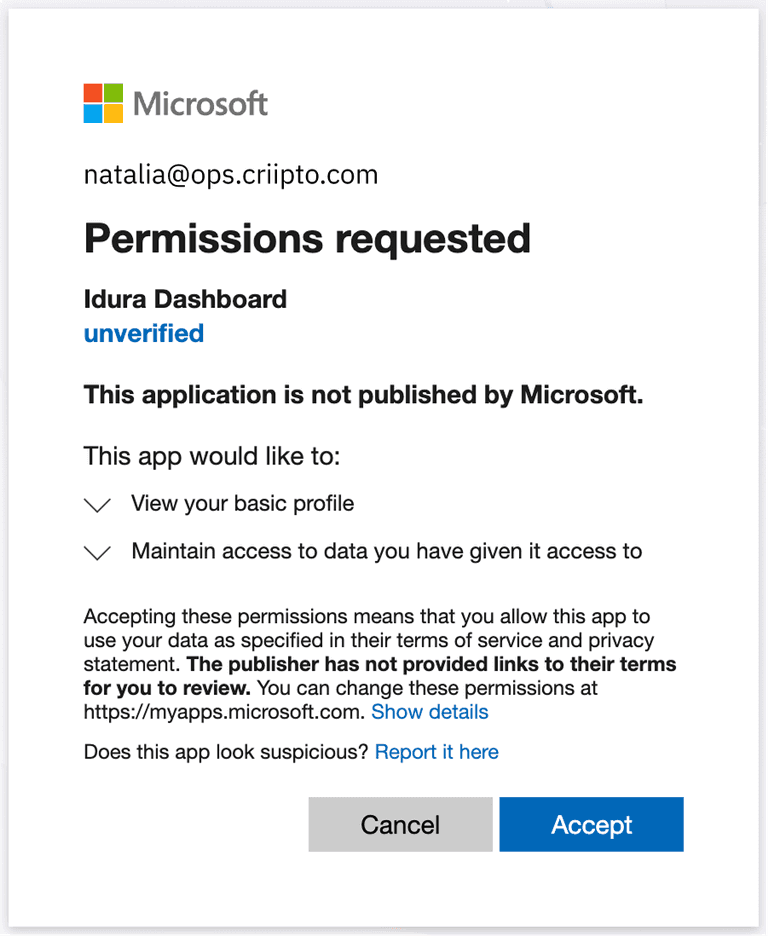
You will be prompted to grant individual user permissions to Idura. Review the requested profile access and click Accept. You can manage or revoke your permissions at any time by visiting myapps.microsoft.com.
Step 5. Secure your account
After Entra ID authenticates you, you will be redirected back to Idura. Follow the onboarding prompts to secure your new account:
- Configure multi-factor authentication.
- Save the presented recovery code in a safe place.
- Optionally, set up a passkey for faster logins in the future.
Step 6. Create your tenant
Finally, follow the prompt to create your first Idura tenant.
Once completed, you will be taken to your dashboard.
